Ah, CDs – remember those?
Ok, they’re still around – but nowhere near as popular as they were when artists like Dire Straits began releasing music aimed at the silvery format.
(Fun fact: the Brothers In Arms, album by Dire Straits, was one of the first to be aimed at the CD market.)
And then, along came Napster. Its beginnings seem simple and innocent enough – a platform where users could swap songs with no strings attached.
In reality, it’s not only arguably to blame for the opening punch of a fight the music industry is still fighting today, it’s also the reason all those CDs you spent your parents’ hard-earned money on are sitting collecting dust in the corner of your room, giving your computer dirty looks!
So what should you do with those increasingly antiquated disks?
Lucky for you, an Instructables user by the name of Swapnal has put together an awesome tutorial for transforming old CDs into cool pieces of art that are very hip, if you ask me.
Want to learn the magic? Read on, my friend.
Tools Needed
To make your very own super-cool CD art, you will need:
- A CD (duh)
- Acrylic paint
- A paint brush for your acrylic paint
- One pencil
- A sharp object to scratch the paint with (a screwdriver can work)
Let’s Get Started
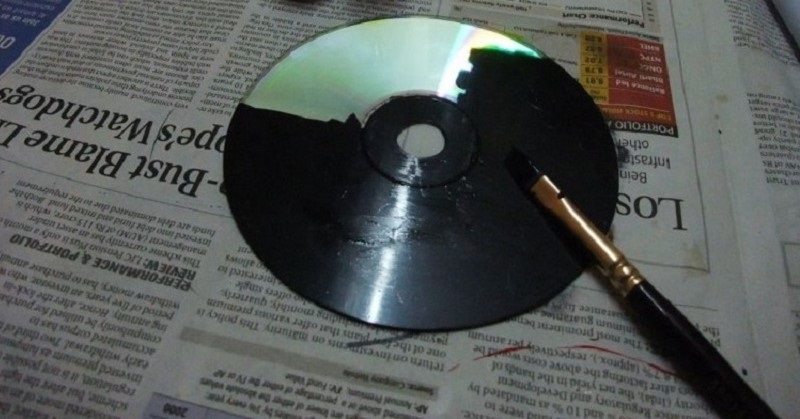
First, you’ll want to apply paint to the disc. Say goodbye to any hope of ever playing that album again, and then apply paint on the shiny side of the CD.
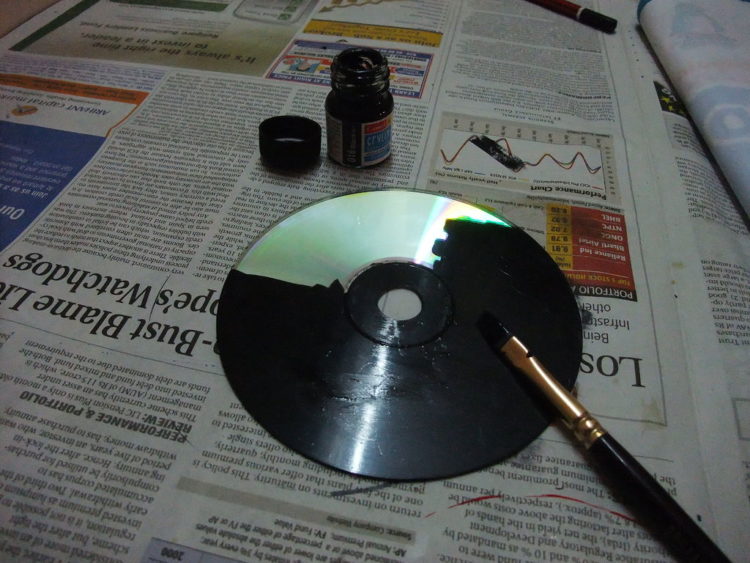
Next, hum whatever songs were on the CD to yourself and lament your wasted youth while you wait for the paint to dry.
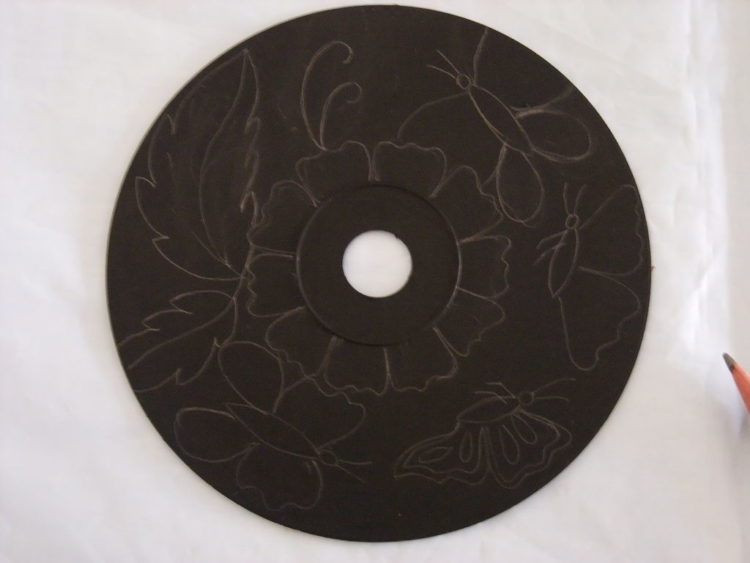
Once the paint is dry, take the pencil and draw a pattern on the coloured side of the disc.
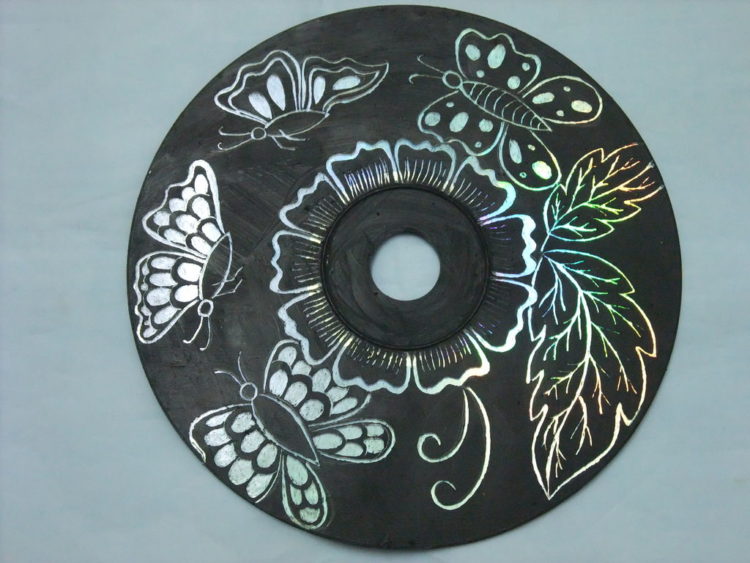
Once you’re happy with your drawn design, grab your sharp object and begin scratching away at the paint.
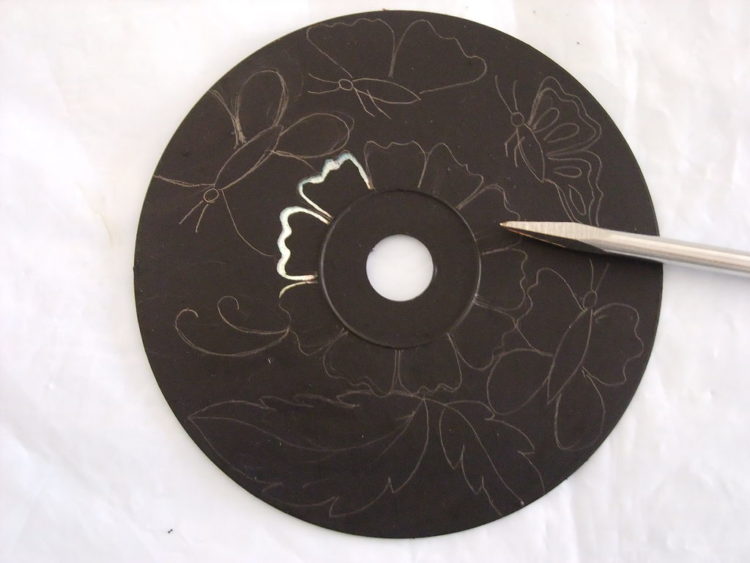
Don’t scratch too hard or you’ll dig too deeply into the shiny surface.
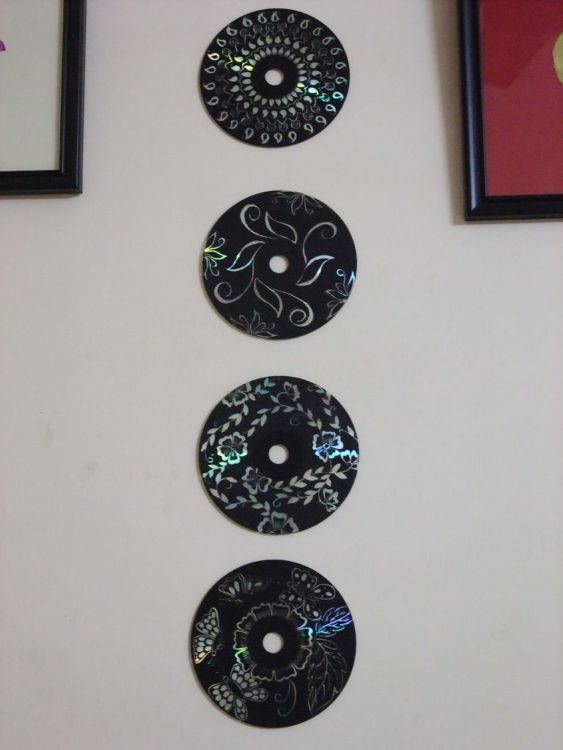
And voila!
This is also a great way to get rid of your sister’s Taylor Swift or Justin Bieber CDs. Foolproof!
Enjoy!
[h/t: www.instructables.com]