If you’ve read any of the articles I’ve put together for this website, you’ll know that the history and tradition behind magic mushrooms is something I am quite interested in.
Mind you, magic mushrooms themselves are listed as Schedule 1 drugs under the United Nations Convention on Psychotropic Substances, and they are illegal in the United States (Canadians are a bit more lucky, with the status of mushrooms being ambiguous up north).
All this is to say that even if you have a burning desire to learn more about magic mushrooms and even appreciate their beauty, you may not want to go around buying up the stuff, especially considering the rather murky waters one must wade through to get a hold of psilocybes.
But have no fear. Where your desire to remain an outstanding citizen sets you back, good ol’ YouTube propels you forward.
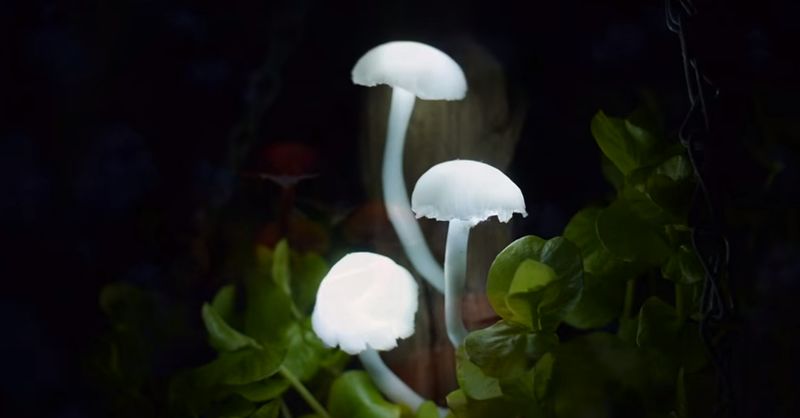
DIY Perks put together a video on how to make your very own magical mushroom lights.
Via DIY Perks
I’ll walk you through it. You will need:
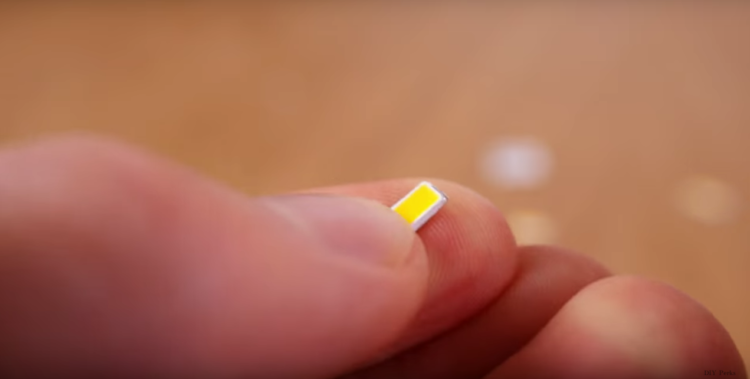
- SMD LED lights
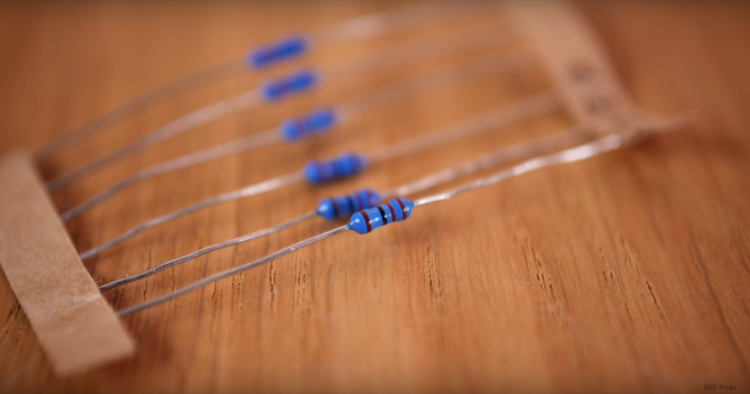
- Resistors
- Clear silicone/watercolor paint
- Thin and stiff wire
- Driftwood
- A battery box with a switch that fits 3 AA batteries
- Cling wrap
- Scissors and pliers
- Soldering iron
- Drill
Got your toolbag filled? Great, let’s get started!
Via DIY Perks
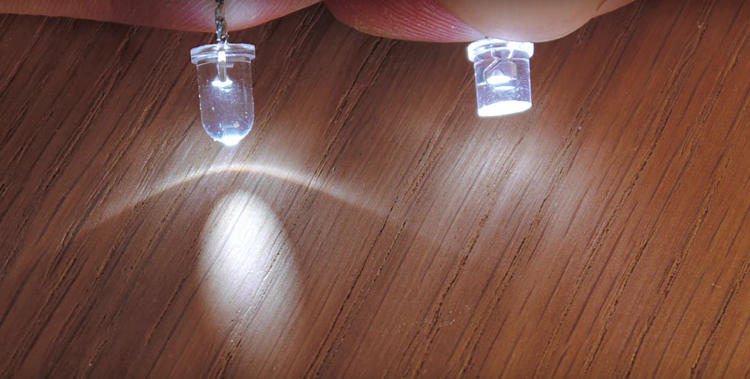
Note that the lights used in this case are SMD LEDs, which cast a much larger beam than conventional LEDs. These can be harder to find, but DIY Perks recommends simply chopping an LED bulb in half if you have too much trouble.
Via DIY Perks
It is also wise to choose the same color of light you’d like your mushrooms to be, as this will result in a much more vibrant mushroom light.
If you are going with SMDs, cut around the trim until you have just the light portion, like so:
Via DIY Perks
Once you’ve got all your lights, you are ready to start working on your battery pack.

Via DIY Perks
You’ll first need to solder resistors in series with each LED to prevent them from being fried by too much voltage.
Via DIY Perks
To figure out what voltage resistor is needed, use this formula:
Battery pack voltage – LED required voltage
DIVIDED BY
LED required current
Move the decimal place of the answer three spaces to the right. This is the ideal resistor ohm rating.
Next, bend one leg of a resistor over to create a right angle.
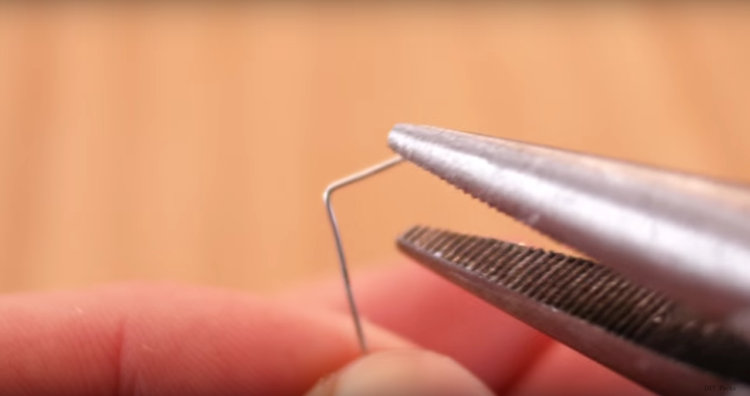
Via DIY Perks
Then, bend the latter portion of it back up again, so it looks like this:

Via DIY Perks
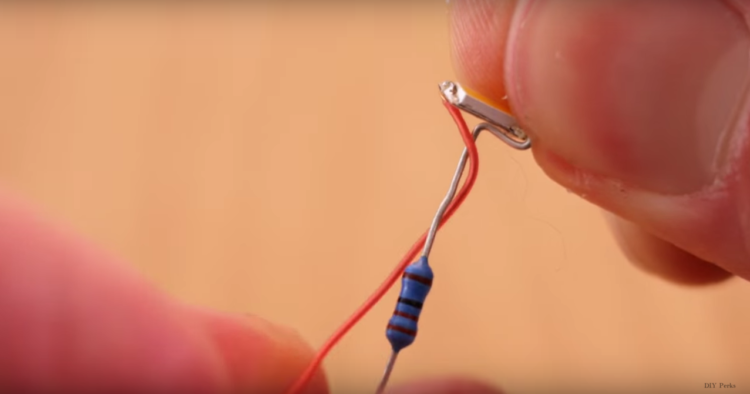
Now you are ready to solder each LED to this configuration, like so:
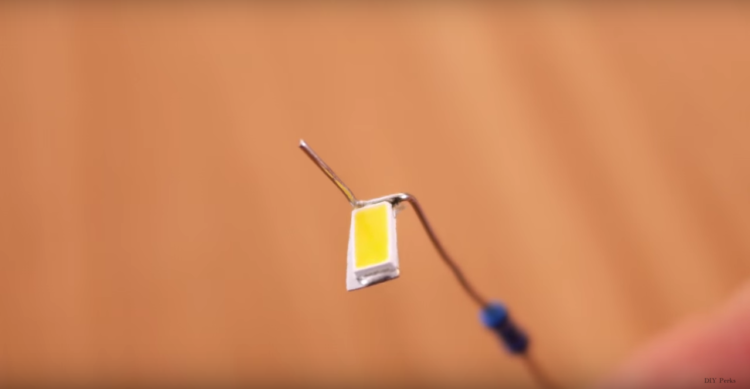
Via DIY Perks
The antenna will support the mushroom dome.
However, before we get to the ‘shrooms, grab yourself some wire no less than 20cm (7.87 inches) long and solder one end of it to the side of the LED opposite from the antenna.
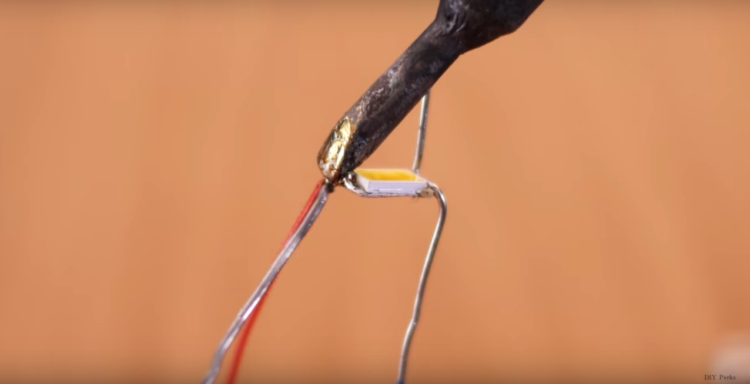
Via DIY Perks
Then, you’ll want to bend the antenna towards the center of the LED and twist the wire around it.
Via DIY Perks
Once you are done with all your LEDs, you should have something that looks like this:

Via DIY Perks
So that is the tricky bit! Now that you’ve got the stems constructed, you can begin crafting the mushrooms themselves. Yay!

Time to break out the watercolor paints and clear silicone.
The silicone will provide something for the colors to cling to, and the watercolors will give them color, as watercolors tend to do.
Mix this on a disposable piece of clear plastic like so:

Via DIY Perks
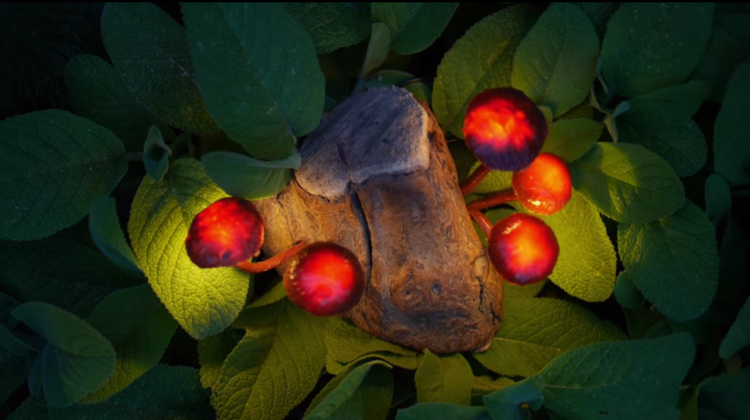
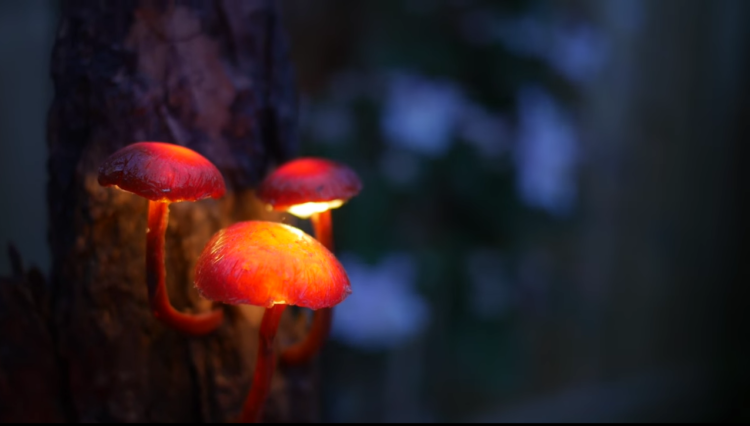
Natural colors are probably the way you are going to want to go, but hey, these are magic mushrooms after all —Knock yourself out and get funky.
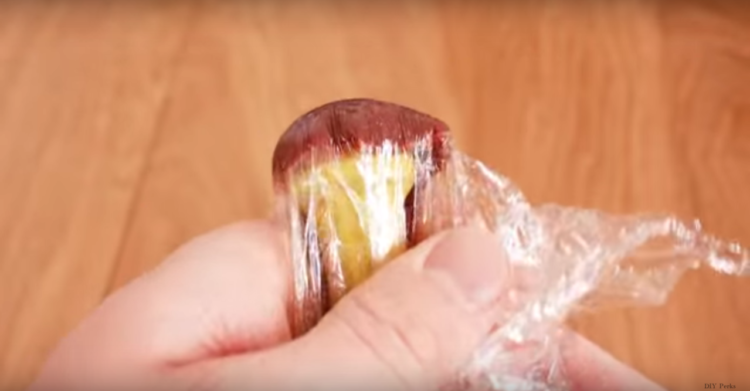
Once you’ve got your mixture the color you want it, lay it on cling wrap and place an LED stem through it.
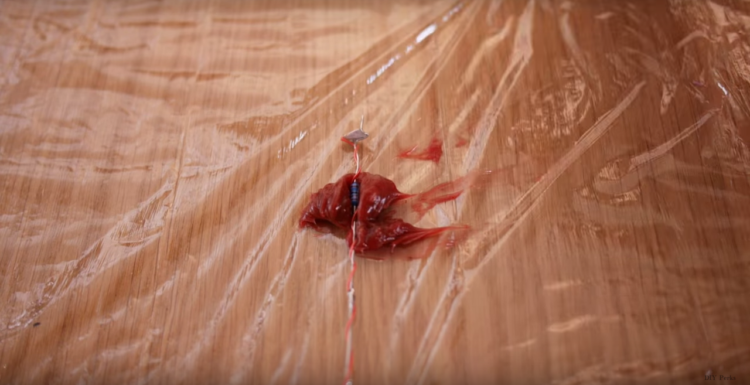
Via DIY Perks
Next, fold the cling wrap, keeping the stem as close to the edge of the wrap as possible.
Then, mold the silicone around the wire like so:
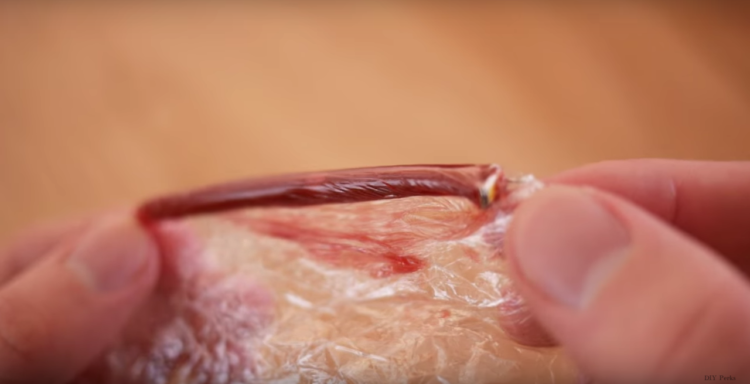
Via DIY Perks
See what we are going for here? Yup, you guessed it – a stem!
Leave this to dry for three hours before peeling off the cling wrap.
The idea is similar for the domes, minus the wire. You’ll want to mold the silicon ( the same color as the stems., if you choose) into a dome shape like so:
Via DIY Perks
The guy in the video uses a knife handle, but a small ball will work just fine.
Once this has dried, you are ready to mount the dome to the stems.
You’ll want to avoid a single bright spot in the center of the dome.
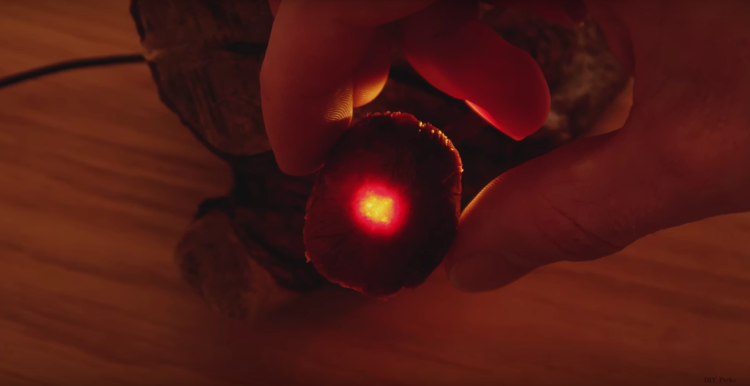
Via DIY Perks
You can do this by making sure there is a good amount of space between the dome and the light itself.
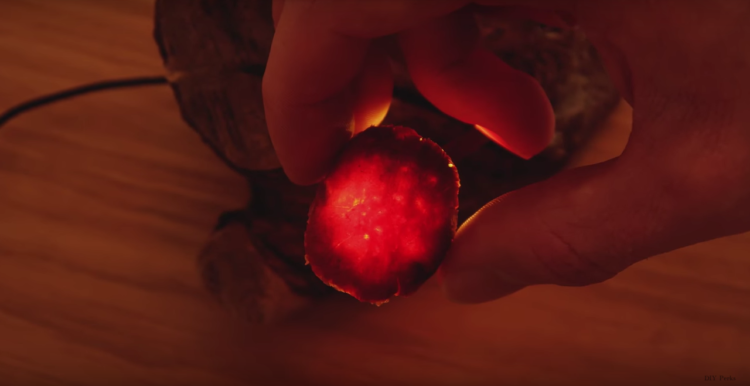
Via DIY Perks
You can bend a piece of wire and solder it to the stem to achieve this.

Via DIY Perks
The dome can sit right on top.
Once you’ve made it to this point, congrats! You’re at the final mounting and soldering stage. Things get a little tricky here without a continuous visual guide, so I recommend checking out the video below to finish up: